Create your forest
A guide to planning, installing, and maintaining a micro forest in Los Angeles.
🕳 Phase 1: Before you plant
🌳 Phase 2: On planting day
💧 Phase 3: After you plant

💧 After you plant
Maintenance of a micro forest consists mostly of two components: weeding and watering.
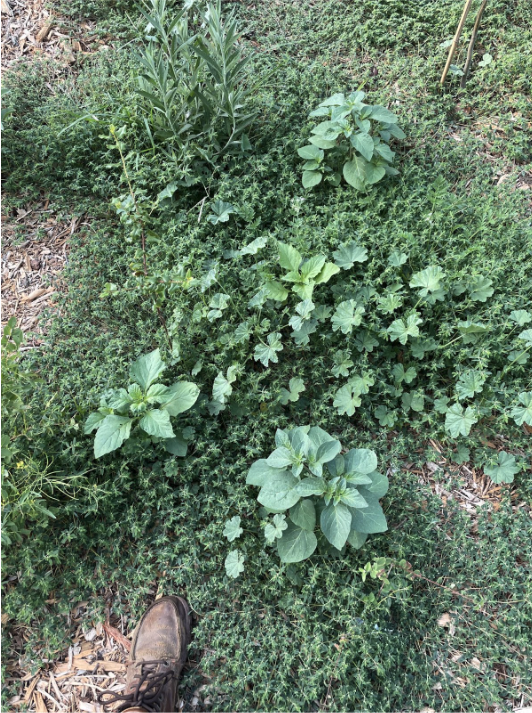
Weeding
Remove weeds during the first two years before they set seed.
Late winter or early spring is a good time to remove cool season weeds.
Early summer to mid-summer is a good time to remove warm-season weeds.
Need help identifying a weed? Use the UC IPM weed ID gallery.
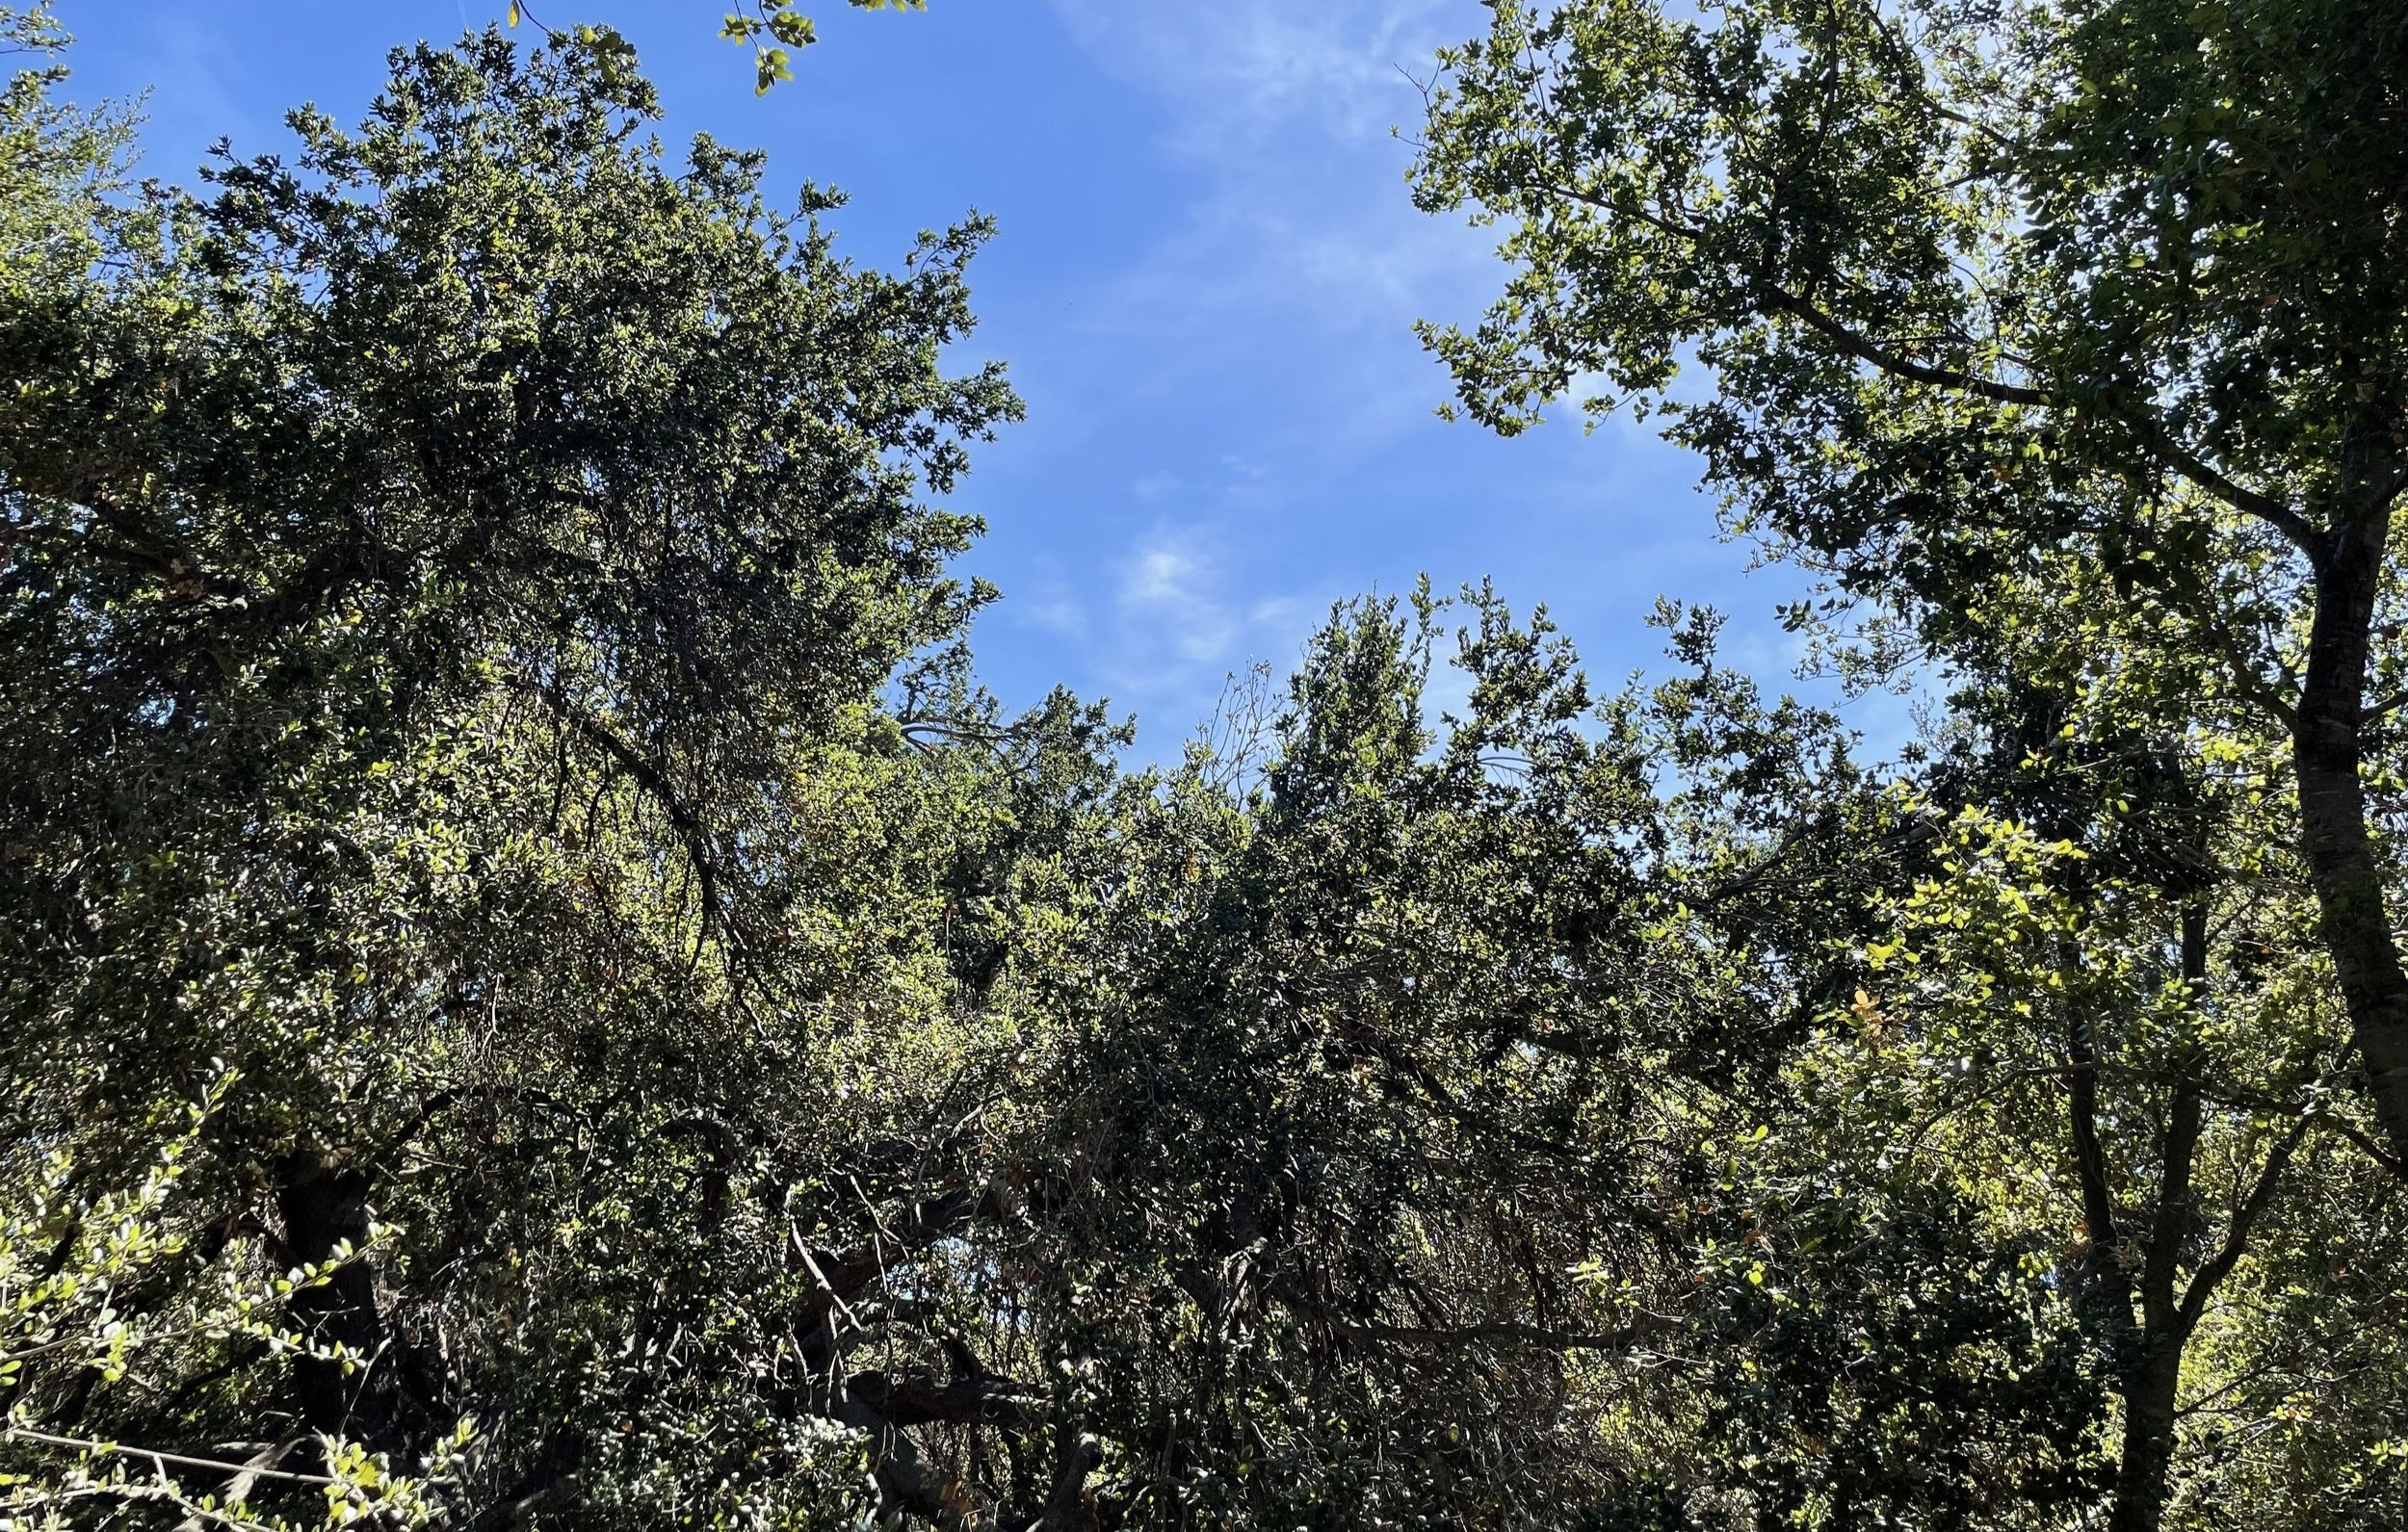
Over time, your forest will become so dense that it helps outcompete weeds all by itself, but it is critical to set the stage for a weed-free forest by diligently removing them for the first few years.
Watering
Your micro forest requires a watering strategy that encourages deep roots to form, enabling the plants and trees to withstand longer and longer periods of drought and acclimate to natural rainfall patterns.
Year 1: Establishment watering. This watering strategy trains the roots to grow deep and helps transition the plant from the care it received in the nursery to the conditions it will encounter in nature.
Year 2+: Optional maintenance watering. Trust the resilience of the plants and water only as a necessary bonus in particularly dry conditions.

Year 1: Establishment watering
Strategy
Water deeply and thoroughly every time you water your forest, reducing frequency over the course of the year (in order to allow more and more of the soil to dry out in between waterings).
Goal
You are training the roots of your plants to dig deeper and deeper for water over time, thus being able to withstand longer and longer periods of drought.
Forest Types: All

When should I water?
Morning or evening are the best times to water due to reduced evaporation.
If you are located in an area with LADWP watering restrictions, you will want to water before 9am or after 4pm.
If your site utilizes recycled water, it does not fall under those same watering restrictions, but it is still wise to avoid watering during the hottest part of the day due to increased evaporation.

How often should I water?
Get your preliminary watering schedule, then adjust that schedule based on your unique site conditions.
Choose the season in which you planted your forest.
Watering schedule for winter planting for spring planting for summer planting for fall planting
| Age of forest | ||||
| Just planted | Once every 2 weeks | Once a week | Every 3-5 days | Every 3-5 days |
| 3 months | Once every 2 weeks | Once a week | Once a week | Once a week or two |
| 6 months | Once every 2 weeks | Once every 2 weeks | Once every 2 weeks | Once every 2 weeks |
| 1 year | Forest is established. Begin optional maintenance watering. | Forest is established. Begin optional maintenance watering. | Forest is established. Begin optional maintenance watering. | Forest is established. Begin optional maintenance watering. |
2. Adjust your watering schedule based on your project site.
Examples of how you might adjust your watering frequency
In a wet winter at a project site on flat ground with slower draining soil along the coast, you may not need to water your forest for months if the soil remains moist.
For a project installed in the heat of summer with sandy soil at an inland site, you may need to start off watering every day or two instead of every 3-5 days.
How should I water and how much?

Method: Buckets/Watering cans
Amount
5 gallons of water per 1 gallon plant.
Technique
Water all around the plant, not just in one spot.
A berm around your plant can help to keep the water in place.
Check how many gallons your watering can or bucket holds in order to determine how many trips to the water source you will need in order to reach 5 gallons.
Is this method LADWP (Los Angeles Department of Water and Power) compliant?
Yes, as long as you water before 9am or after 4pm any day of the week.

Method: Hose and generic multi-pattern nozzle
Amount
5 gallons per plant = 3 minutes per plant = 45 minutes per 100 sq. ft. forest
Calculate watering duration for your specific site
(Square footage of site x .45 = minutes watering)
Technique
Use the “shower” pattern on the nozzle. In order to allow the water a chance to percolate into the soil, move from plant to plant, cycling through all the plants of the forest multiple times rather than giving all 5 gallons to one plant all at once. This method is unrealistically time-consuming for large scale projects.
LADWP compliant?
Mostly, as long as you water before 9am or after 4pm any day of the week and use the shut-off feature of the nozzle when not actively watering your plants (e.g. walking the hose to and from the forest, etc.)

Method: Hose and Dramm water breaker nozzle with attached shut-off valve
Amount
5 gallons per plant = 1 minute per plant = 15 minutes per 100 sq. ft. forest
Calculate watering duration for your specific site:
(Square footage of site x .15 = minutes watering)
Technique
In order to allow the water a chance to percolate into the soil, move from plant to plant, cycling through all the plants of the forest multiple times rather than giving all 5 gallons to one plant all at once.
LADWP compliant?
Mostly, as long as you water before 9am or after 4pm any day of the week and use the shut-off valve attached to the nozzle when not actively watering your plants (e.g. walking the hose to and from the forest, etc.)

Method: Hose and good ’ole “spaceship” sprinkler attachment
Amount
1.5” of precipitation/rain = 1 hour
LADWP compliant?
At the duration needed to get to 1.5”, it is not in compliance with current water restrictions unless using recycled water.

Method: Low-volume sprinklers (e.g. MP-Rotators, etc.)
Amount
1.5” (check manufacturer specs to determine length of time to run sprinklers to reach 1.5”)
Technique
Use pop-up sprinklers installed on risers to be sure the growing forest does not block the pathway of the water. Short sprinklers used for low-lying lawns will not be effective for taller vegetation.
LADWP compliant?
At the duration needed to get to 1.5”, it is not in compliance with current watering restrictions unless using recycled water.

Method: High-volume lawn sprinklers
Amount
1.5” (check manufacturer specs to determine length of time to run sprinklers to reach 1.5”)
Technique
Use pop-up sprinklers installed on tall risers to be sure the growing forest does not block the pathway of the water. Short sprinklers used for low-lying lawns will not be effective for taller vegetation.
LADWP compliant?
At the duration needed to get to 1.5”, it is not in compliance with current watering restrictions unless using recycled water.

Method: Impact sprinklers
Amount
1.5” (check manufacturer specs to determine length of time to run sprinklers to reach 1.5”)
LADWP compliant?
At the duration needed to get to 1.5”, it is not in compliance with current watering restrictions unless using recycled water.
Tip: This method should only be used for larger projects. Using a tripod impact sprinkler ensures even distribution of water over the forest.

What about drip irrigation?
Drip Irrigation is not recommended except under extremely rare circumstances. While it is superior in terms of water-efficiency and can be very effective for agricultural applications, it is one of the most inferior and unnatural methods of irrigation for establishing healthy root systems for drought-tolerant native plants. Not recommended.
Year 2+: Ongoing maintenance
After your initial establishment watering in Year 1 (assuming you planted your forest from small pot sizes as recommended), your forest will be able to survive solely on natural rainfall during years of normal rainfall levels (15” on average for the L.A. region).
That said, during particularly dry years when we are not receiving normal rainfall levels, you may choose to reduce the stress to the forest and improve its appearance by doing periodic maintenance irrigation that focuses more on watering in the winter and spring, and less on watering in the summer.
Maintenance watering options*

1. Do nothing
For installations in remote areas or habitat restoration projects where ongoing maintenance watering is unrealistic.
Annual water usage: 0”

2. Boost rainfall, then do nothing
Providing assistance in winter and spring to increase rainfall levels (1” per month between December and May if rainfall is absent), but otherwise leaving the forest to survive on its own in the summer.
Annual water usage: 0” - 6” /yr., depending on natural rainfall levels

3. Boost rainfall, then refresh
Providing assistance in winter and spring to increase rainfall levels (1” per month between December and May if rainfall is absent), PLUS providing light refreshing overhead showers every two weeks in the summer to cool off the forest and dust off the leaves (no more than 0.25” every two weeks).
Annual water usage: 4.5” - 10.5” / yr., depending on natural rainfall levels

4. Autopilot
When you don’t want to have to think about anything and just want to put your forest on a regular schedule (0.25” every two weeks all year).
Annual water usage: 6” / yr., regardless of natural rainfall levels
* Applicable to all forest types except the Riparian Forest/Woodland.
Riparian Forest/Woodland forest type should only ever be planted where year-round water is already available in the form of natural rainfall, flooding, greywater, or other form of rainwater capture, diversion, or reuse.